Have you ever dreamed of building your own PC but felt overwhelmed by the process? Well, you’re in for a treat! Welcome to the ultimate PC builder guide for 2024, where we’ll transform you from a curious novice into a confident DIY enthusiast. Did you know that custom-built PCs can outperform pre-built systems by up to 30% for the same price? That’s right – your dream machine is just a few steps away, and I’m here to guide you through every exciting phase of the build. Let’s roll up our sleeves and dive into the world of PC building!
Understanding the Basics of PC Building
What is a Custom PC and Why Build One?
A custom PC is a computer built from individually selected components, tailored to your specific needs. Whether you’re a gamer, a content creator, or just someone who enjoys a powerful machine, building a custom PC allows you to optimize performance, save money, and gain a deeper understanding of your system.
Overview of Essential Components
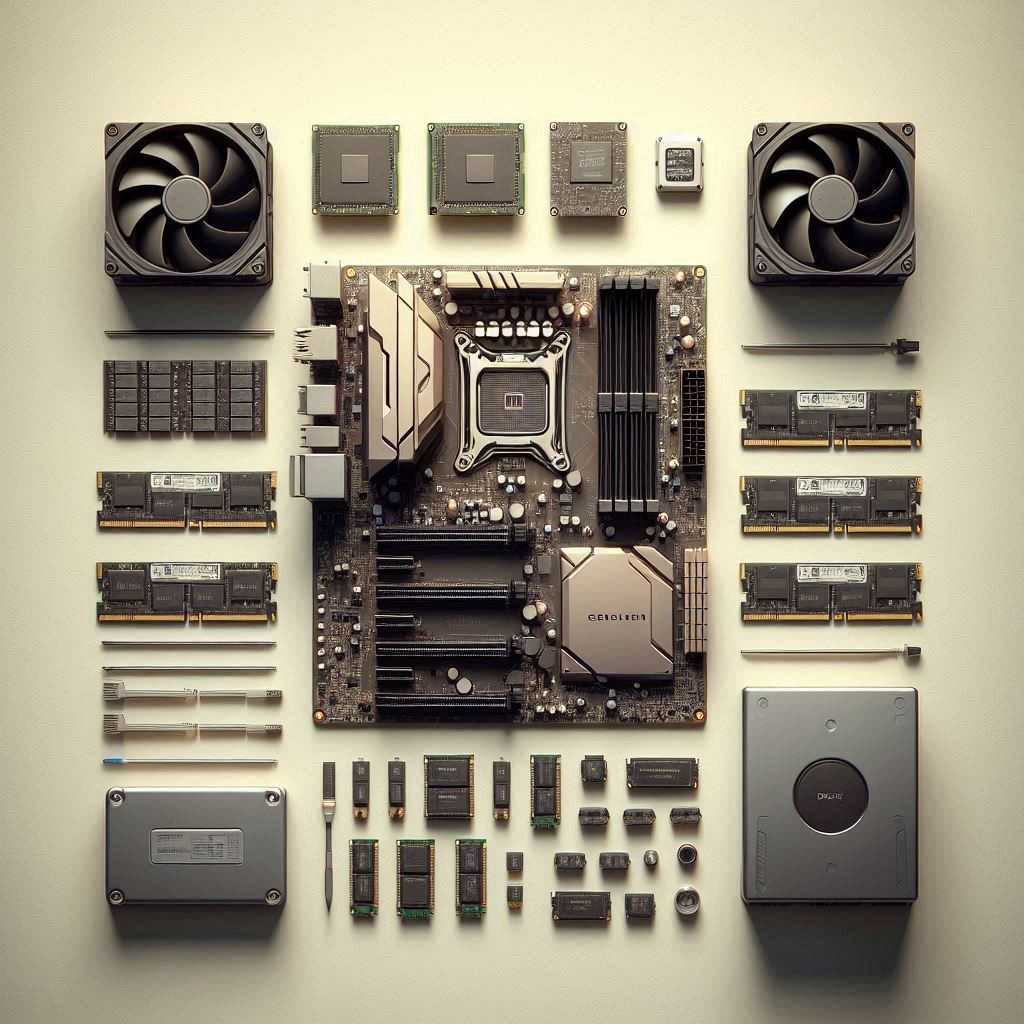
To start your journey, you’ll need to understand the key components of a PC:
- CPU (Central Processing Unit): The brain of your PC.
- Motherboard: The backbone connecting all components.
- RAM (Random Access Memory): Temporary storage for active tasks.
- Storage: SSDs and HDDs for your data.
- GPU (Graphics Processing Unit): Crucial for gaming and graphics-heavy tasks.
- PSU (Power Supply Unit): Powers your entire system.
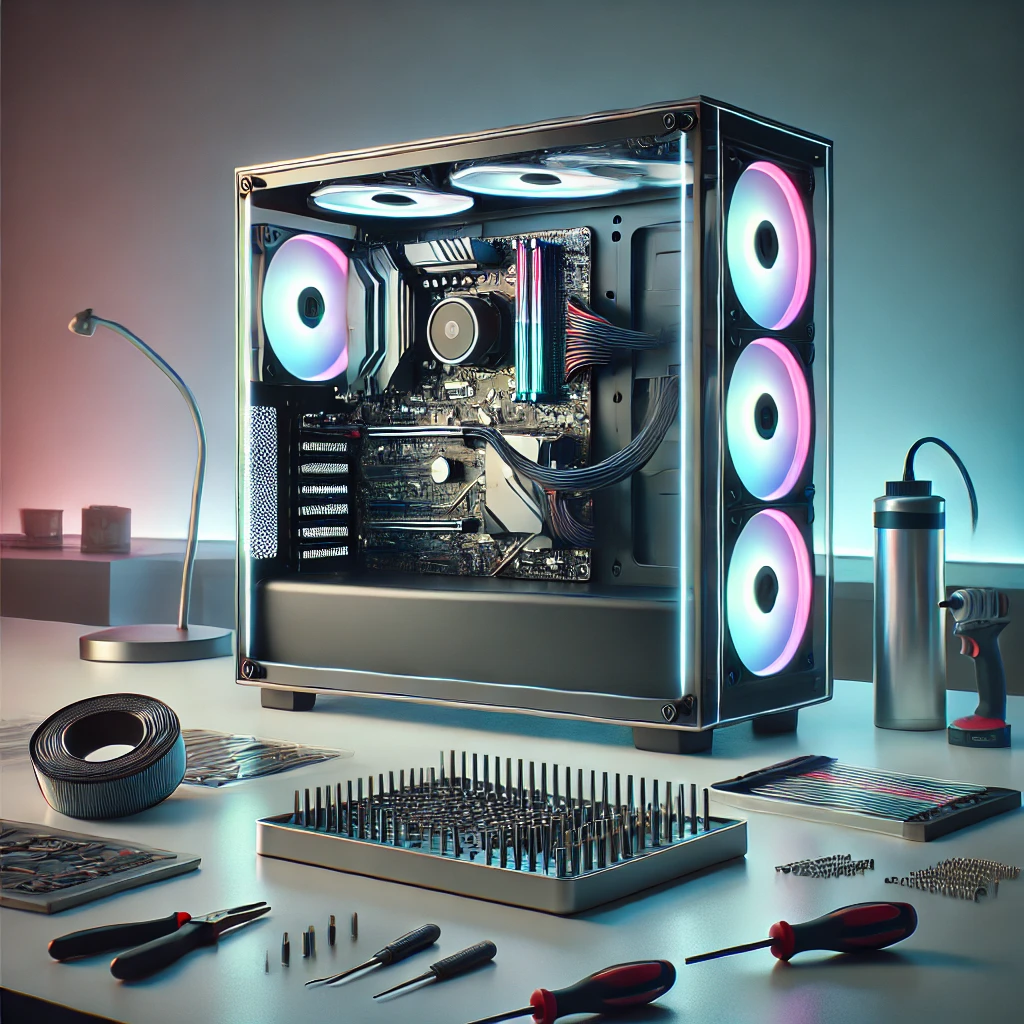
- Case: Houses all your components, with considerations for size, airflow, and aesthetics.
Tools You’ll Need for the Build
Before you begin, gather these essential tools:
- Screwdrivers (preferably magnetic)
- Anti-static wrist strap
- Thermal paste
- Cable ties
- Tweezers (for those hard-to-reach places)
Safety Precautions and Best Practices
Building a PC involves delicate components, so it’s crucial to follow safety guidelines:
- Ground yourself with an anti-static wrist strap to prevent electrostatic discharge.
- Handle components by the edges to avoid damaging circuits.
- Keep your workspace clean and organized to avoid losing screws or components.
Choosing Your PC Components
CPU Selection: Intel vs. AMD
Your choice between Intel and AMD will significantly impact your PC’s performance. Intel CPUs are known for their high single-core performance, making them great for gaming. AMD, on the other hand, offers better multi-core performance at a lower cost, ideal for multitasking and content creation.
Motherboard Compatibility and Features
Choose a motherboard that fits your CPU socket and supports your desired features like PCIe 4.0, Wi-Fi 6, or additional M.2 slots for SSDs. Ensure it has the right number of ports and expansion slots for your needs.
RAM: Capacity, Speed, and Compatibility
For most users, 16GB of RAM is sufficient, but gamers and content creators might benefit from 32GB or more. Consider the speed (measured in MHz) and ensure your RAM is compatible with your motherboard.
Storage Options: SSDs vs. HDDs
SSDs (Solid State Drives) offer faster load times and better overall performance compared to traditional HDDs (Hard Disk Drives). For the best of both worlds, use an SSD for your operating system and an HDD for additional storage.
Graphics Cards: Balancing Performance and Budget
The GPU is the most crucial component for gamers and those working with high-resolution video or 3D rendering. Balance your budget with your performance needs, keeping in mind that newer models like NVIDIA’s RTX 40 series or AMD’s RX 7000 series offer significant advancements.
Power Supplies: Calculating Your Wattage Needs
A reliable PSU is essential. Use online calculators to determine your wattage needs, considering future upgrades. Modular PSUs are preferable for easier cable management.
Cases: Size, Airflow, and Aesthetics
Choose a case that fits your motherboard form factor (ATX, Micro-ATX, or Mini-ITX) and provides good airflow to keep your components cool. Aesthetics are also important, especially if you want to show off your build.
Planning Your Build
Setting a Budget for Your PC
Determine your budget early on to guide your component choices. Remember to allocate funds for peripherals like monitors, keyboards, and mice.
Determining Your PC’s Primary Use
Are you building a gaming PC, a workstation, or an all-purpose machine? Your primary use will dictate your component priorities.
Choosing a Build Theme or Aesthetic
Whether you want a minimalist black box or a flashy RGB-lit rig, decide on a theme to ensure all components match your desired aesthetic.
Using PC Part Picker Tools for Compatibility Checks
Tools like PCPartPicker can help you ensure all your components are compatible, avoiding any last-minute surprises during assembly.
Step-by-Step Assembly Guide
Preparing Your Workspace
Clear a large, well-lit space where you can work comfortably. Have all your tools and components within reach.
Installing the CPU and Cooler
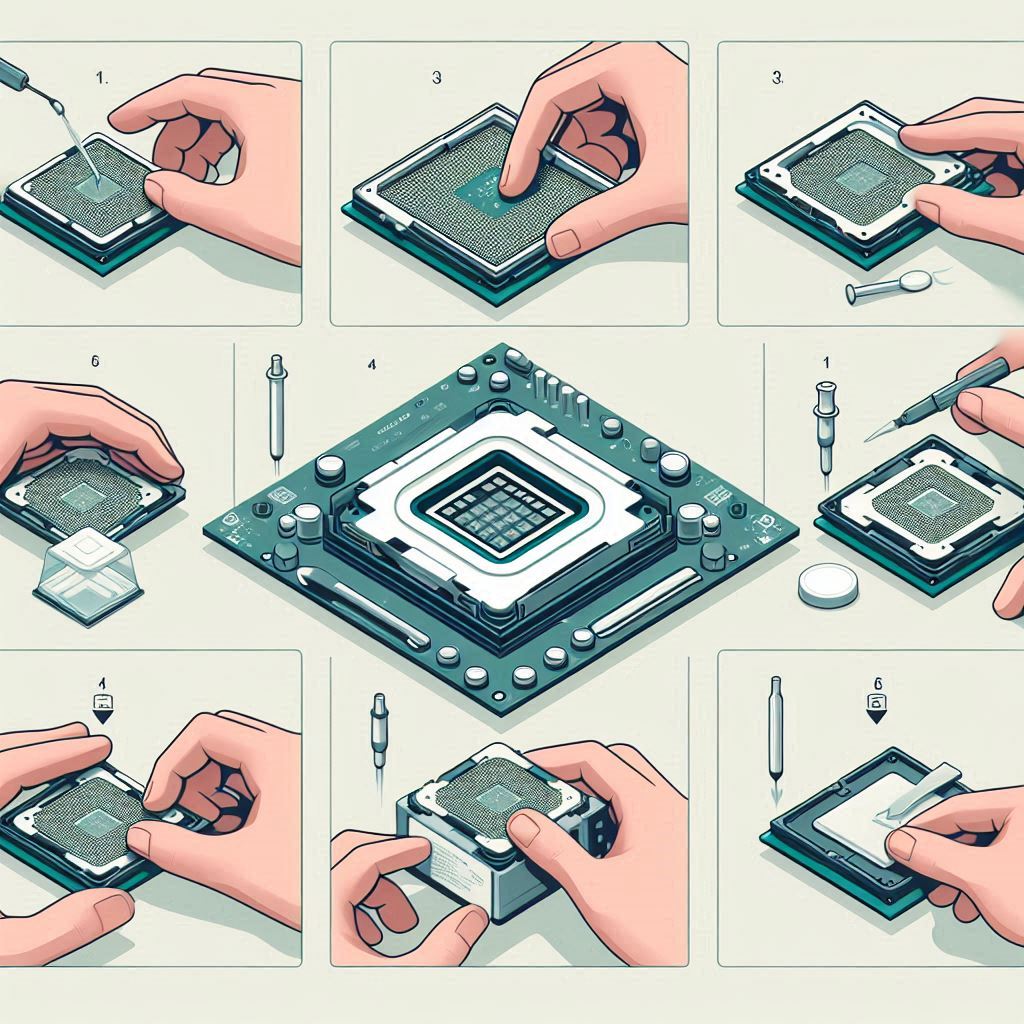
Carefully place the CPU into the socket on the motherboard and apply a pea-sized amount of thermal paste before attaching the cooler.
Mounting the Motherboard in the Case
Secure your motherboard to the case using the standoffs provided, ensuring all ports align correctly with the case cutouts.
Connecting Power Supply and Cables
Install the PSU and connect the necessary power cables to the motherboard, CPU, and GPU. Modular PSUs allow for cleaner cable management.
Installing Storage Drives
Mount your SSDs and HDDs in their designated slots, connecting them to the motherboard via SATA or M.2 interfaces.
Adding the Graphics Card
Insert the GPU into the appropriate PCIe slot on the motherboard, securing it with screws and connecting the necessary power cables.
Final Connections and Cable Management
Connect any remaining cables, including case fans, front panel connectors, and peripherals. Use cable ties to keep everything neat and organized.
BIOS Setup and Operating System Installation
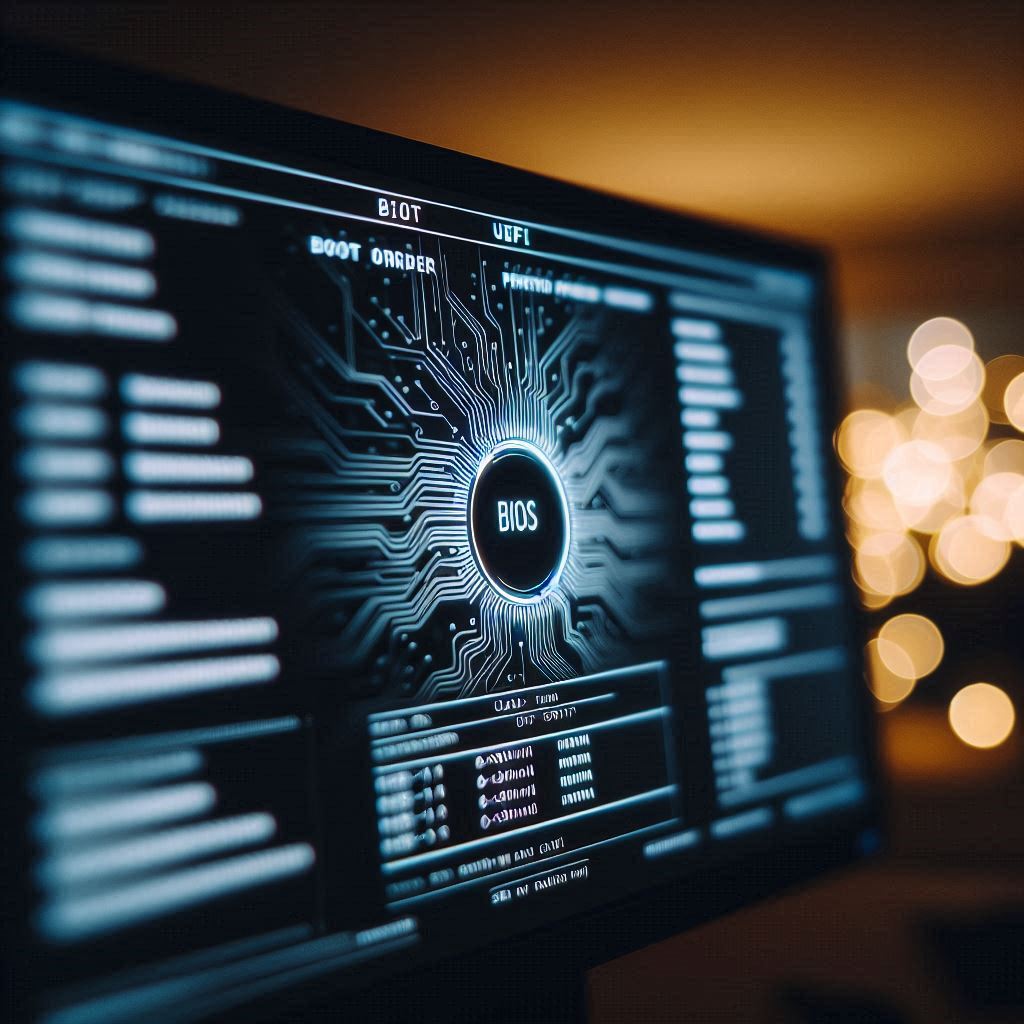
Navigating BIOS/UEFI Settings
Upon powering on your PC for the first time, enter the BIOS/UEFI to ensure your components are recognized and set up correctly.
Creating a Bootable USB Drive
Use tools like Rufus to create a bootable USB drive with your preferred operating system.
Installing Windows or Your Preferred OS
Insert the bootable USB drive and follow the on-screen instructions to install your operating system.
Essential Driver Installations
Once your OS is installed, download and install the latest drivers for your GPU, motherboard, and other components to ensure optimal performance.
Optimizing Your New PC
Running Initial Performance Tests
Benchmark your new build with tools like 3DMark or Cinebench to verify performance and stability.
Overclocking Basics (If Desired)
If you’re looking to squeeze extra performance from your CPU or GPU, consider mild overclocking. Be cautious and monitor temperatures to avoid overheating.
Setting Up Proper Cooling and Airflow
Ensure your fans are oriented correctly for optimal airflow. Consider adding additional fans or a liquid cooling system for better thermal management.
Organizing Your New System
Install your preferred software, organize your files, and personalize your desktop to make your new PC truly yours.
Troubleshooting Common Issues
No Power or Display Problems
If your PC doesn’t power on, check all power connections and ensure your PSU is switched on. If there’s no display, double-check your GPU and monitor connections.
Boot Failures and Error Codes
If your PC fails to boot, consult your motherboard manual for error codes or beeps that can help diagnose the issue.
Component Compatibility Issues
Ensure all components are compatible and seated properly. Sometimes reseating RAM or other components can resolve issues.
Identifying Faulty Hardware
If you’ve tried everything and your PC still isn’t working, you might have faulty hardware. Test components individually or consult a professional.
Conclusion
Congratulations, fellow PC enthusiast! You’ve just embarked on an incredible journey through the world of custom PC building. From selecting the perfect components to the satisfying click of that final cable, you’re now equipped with the knowledge to create a machine that’s uniquely yours. Remember, building a PC isn’t just about assembling parts – it’s about crafting an experience tailored to your needs and desires. So go ahead, power on that beast you’ve created, and bask in the glow of your monitor (and probably some RGB lighting). The digital world is your oyster, and you’ve just built the perfect pearl to explore it with. Happy building, and may your temperatures be low and your framerates high!
